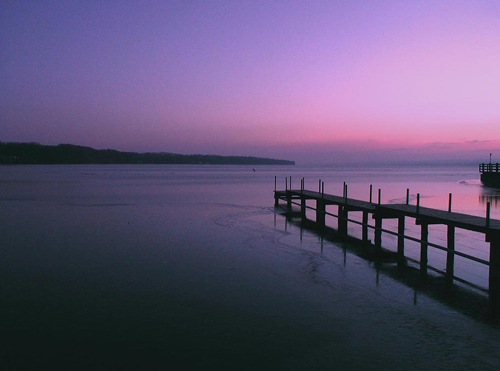
1. Shoot about 30 minutes before and after sunset.
A sunset is a great thing to capture, but even if you’re not shooting the sunset but instead shooting at a 90-degree angle to the sunset or even shooting with the sunset at your back, having that subtle light brings out the colors in landscape photos. Most outdoor photography magazines won’t even consider shots that haven’t been shot around this time, as well as before/after sunrise.
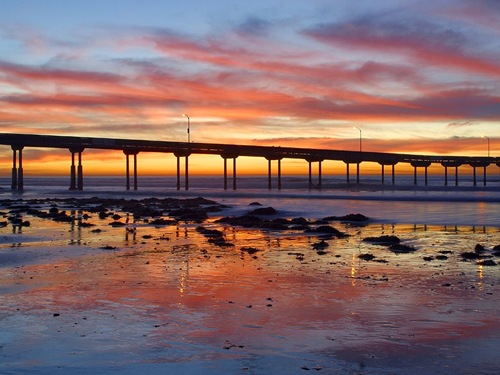
2. Shoot about 30 minutes before and after sunrise.
As well as before and after sunset, shooting before and after sunrise causes a lot of detail and tone to be seen. The lighting avoids being overexposed, which happens many times when shooting in the middle of the day with harsh light. For portraits, you can shoot in the shade for subtle light even during the middle of the day, but with landscapes, you can’t put the entire landscape into the shade. You have to rely on the weather for that. You can shoot a little longer after sunrise if there’s some slight cloud cover, but usually an hour or two after sunrise and it’s already really bright.
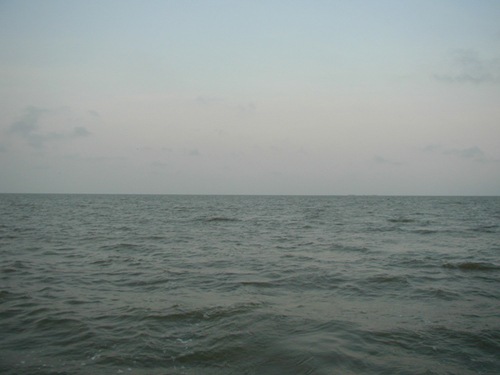
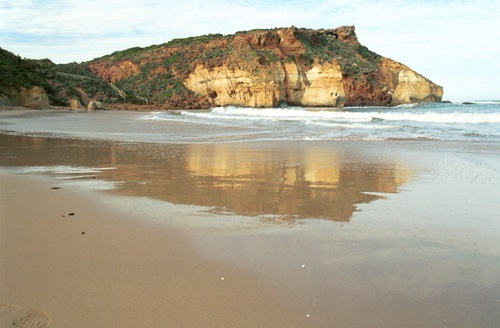
This is an example of a slightly underexposed landscape photo. It’s not shot during the right amount of light, and was shot when the sun was too far down or with too much cloud cover.
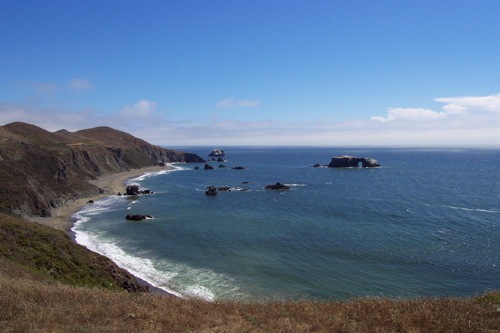
3. Have a foreground, middleground, and background.
This is part of the rule of thirds, which I cover in the next tip. Make sure you have three elements in landscape shot in order to make it more aesthetically pleasing. For example, if there are some seagulls running on the beach along the shore, that can be the foreground, while the middleground would be the waves crashing and part of the ocean, and the distant ocean and horizon would be the background.
4. Use the rule of thirds.
The rule of thirds applies to landscape photography as well. Imagine drawing out a tic-tac-toe design, with two lines running vertically and two horizontally. The plane is divided into three equal parts. Try to put the subject where these lines meet; for example, to top left or top right or bottom left or bottom right.
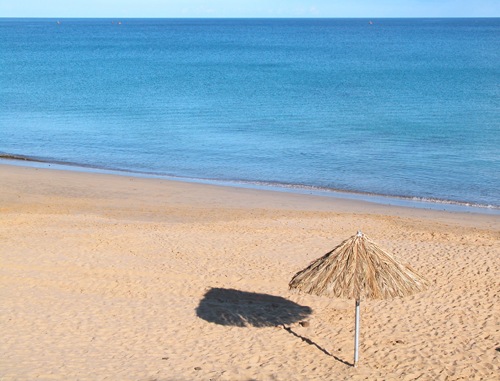
In this photo, the umbrella is in the lower right corner.
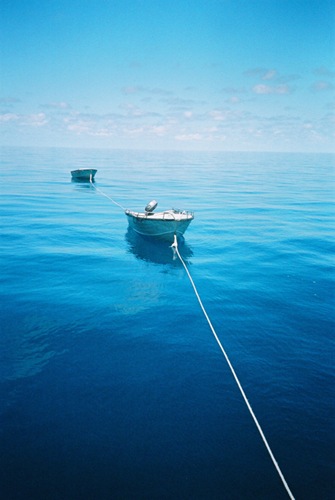
The angles and placement of the two objects near the upper left corner work well here.
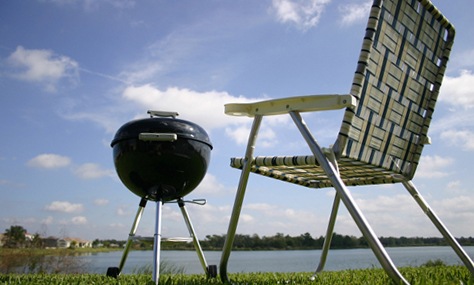
5. Use a small aperture.
To include as much as the scenery possible, use a long depth of field. Using a more closed aperture makes the depth of field longer (and the f-stop setting a higher number). This allows for more things to be in focus. While blurring out the background is sometimes preferred, with landscape photos, we often want to have many elements in focus.

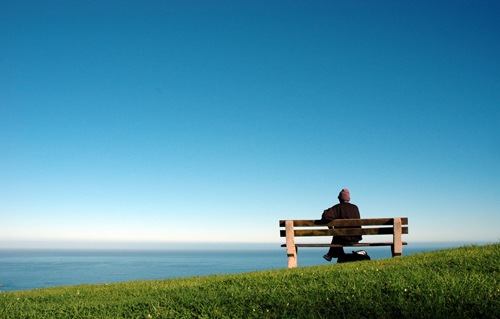
In this photo, the camera focuses on the grass, but we want the depth of field to be high so we can see more of the landscape as well.
This is one example where we can see the detail of even elements far away.
6. Don’t put the horizon in the middle of the shot.
This tip is closely related to the rule of thirds tip: don’t put subjects (the subject being the horizon in this example) in the middle of the shot. While many beginning photographers may be inclined to divide the photo in half, having the horizon the top third, or even top fifth or top eighth, is much better, as is having the horizon in the bottom third, fifth, or eighth. This allows us to focus on either the sky or the ocean or earth so we have some kind of focus.

7. If the sun is harsh, shoot away from it to get blue skies.
Shooting close to where the sun is causes the areas to be blown out.

This example of the Chinese Theatre in Hollywood shows how areas are blown out when shooting to close to the sun.
8. Finally, keep the horizon level.
This one may seem obvious, and although there are times when the horizon may need to not be level to accommodate a better composition of a subject, keeping the horizon level when possible is good practice.


0 comments:
Post a Comment